

When I was only one year old my parents bought me this adorable antique rocking chair for Christmas. If it was an antique like 30 years ago, (Oops! Did I say 30? I really meant to say 25 or so) then it's even more antiquey now!
When I left home it came with me. And with several moves and five kids later...needless to say, it didn't get taken good care of. I am a sentimental FOOL so this broke my heart, and I decided to give it a makeover!
I had to take it apart because it was a bit wobbly and needed re-glueing. I disassembled and started sanding. I forgot to take a picture before taking it apart, so here it is a little way into the project:

After sanding, I re-glued the top portion:

I ran into a little problem at this point. The place where the wooden legs attached to the rockers were weak and broke apart. So I needed to drill out the holes. I realized that a previous owner had put nails into the rocker to keep it together. That made it a little more difficult.
Before drilling:


After drilling the 1/2" new holes:


After drilling, I sanded it, cut a dowel to fit, reassembled, and glued it back together again...(You know, like Humpty Dumpty!)

Now here's the fun part! I spray painted the rocker with Blue Ocean Breeze...LOVE that color! I always thought that spray painting was not the best thing to do when you want something to look nice. You must paint using the ole can of paint and a brush. I was wrong! The trick to spray painting is doing a primer first, then doing several LIGHT coats of paint. If you spray it on too thickly you'll get drips and uneven coverage.


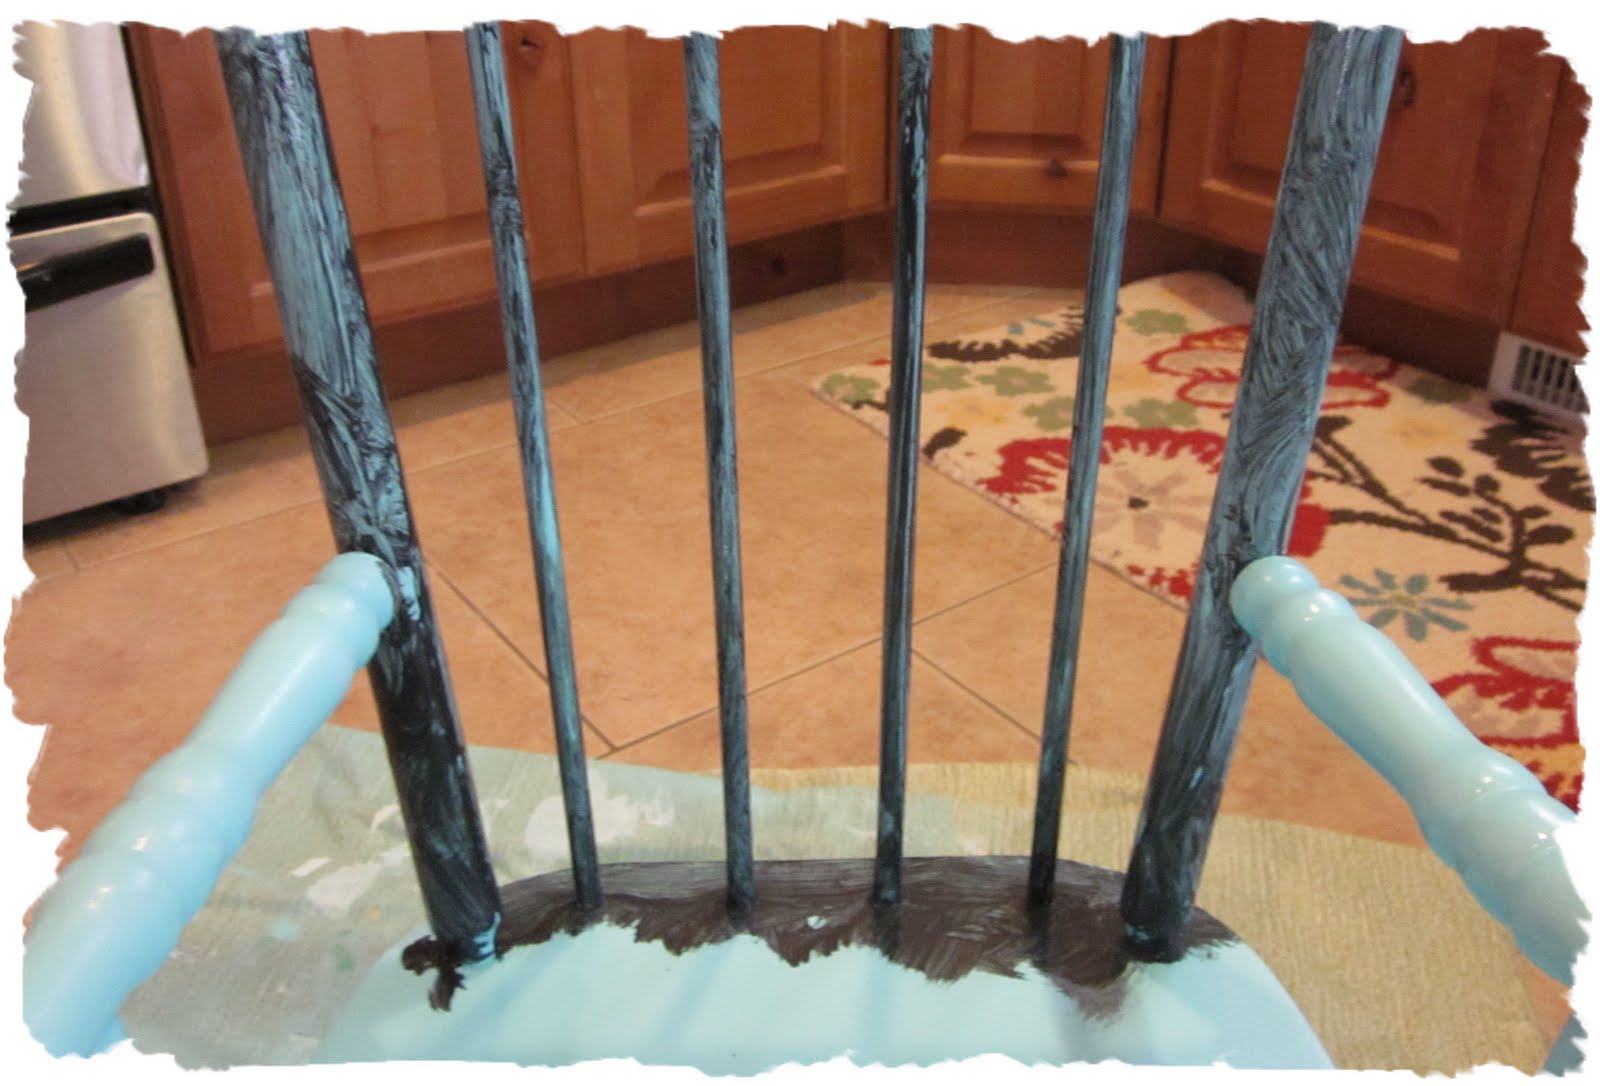
After spray painting the rocker it looked too bright & shiny & new...for an antique! So next I GLAZED it. This is way super easy. I bought faux glaze at Home Depot and asked them to tint it black. I applied the glaze to just one section at a time, because you don't want it to set for too long. With a dry rag, I wiped the glaze off, leaving the glaze in the cracks and grain of the wood. Then I went over it with a wet rag to get even more of the glaze off, and then went on to the next section. You can always go over places if you want it darker, but once it's dry you can't get it up...so start light. Here is a great tutorial from Vintage Revivals!


(Yes, I was doing this is my kitchen! My basement is just too dark :-)
I love how the glaze looks! See how it's darker in the cracks & grooves? And now it doesn't look so new & shiny...it has character!


For now, the little rocker sits in Sara (4) and Violet's (1) room.

I love how perfectly the rocker matches the curtains I made a few years ago!
See?

(Both Violet and Bear like to sit in the rocker :-)


The little rocker has a lot of imperfections, but I absolutely love it because of them...just adds character. Now it has new life and I LOVE how it turned out!
TA-DA!

DISCLAIMER (for my great grandchildren): I have to apologize in advance. Someday when you take this rocking chair to the ANTIQUE ROADSHOW, the antique-specialist guy will say, "This could have been worth thousands of dollars, BUT someone refinished it, greatly reducing it's worth."
Uh, my bad.
Sorry.
But I give you permission to love it like I love it and change it and refinish it any way you like...
LONG LIVE the LITTLE ROCKER!
That is so uber sweet. I love that color. I'm afraid I would have not given it a second look seeing it in pieces but I am so glad you took this project on and gave this darling piece new life. Thanks so much for sharing on Motivated Monday at BeColorful and I hope you will link up some more of your fabulousness.
ReplyDeletePam
It is beautiful!! I love it!
ReplyDelete