5/8/11

Tie-Dye Apron


Have you ever had a teacher that seemed to be PERFECT for your child...and fit their needs in a PERFECT way?  I think it's pretty rare, but boy did we hit the jackpot this year!!!  I must say, my kids have the BESTEST teachers EVA!  Each of them are fabulous in their own way!  So in honor of Teacher Appreciation Week, I was looking for a gift that we could give these awesome teachers...that was different from the regular ole candle or craft that will most likely find it's way in the trash.  So I made these tie-dye aprons...hopefully, it'll be something the teachers can use during ART TIME (always my favorite subject)!


I bought plain white aprons at Hobby Lobby (I wanted the ones with pockets)...
...and tie-dyed them!


Totally GROOVY, right?


Then I folded them up, so the pocket was in the front, taped the paint brushes to the inside of the pocket (I'm sure you can guess why I had to use tape), and stuck in a heart-felt note (awww).  And voila, I had a totally groovy and original gift for the teachers!

5/4/11

Board & Batten

Look what I've been up to?
This weekend I put board and batten in our front room!


We bought primed mdf from Home Depot:
Header: (2) 5-1/2' x 6'
Verticals: (11) 1-1/2 x 8'

After a tutorial from da hubbs on how to use a chop saw and a nail gun, I went to work.  It took a full day, but it was totally do-able and FUN!  Here's how to do it:

1. MEASURE
Measure out the wall for the vertical boards, using painter's tape to mark it. Making sure that the boards won't cover any outlets or light switches. There are 10.5 inches between each vertical board. But I really only measured every 12" keeping in mind that the mark would line up to the left of each board. 12"-1.5"(width of board)=10.5". Then I marked where the header would go, usin
g a level and pencil.

2. HEADER
Measure the header (I used two boards) and cut the edges at 45 degree angles where they join. Using liquid nails I glued the header in place, checking with the level to make sure it was all good. I used the T-support to hold it in place so I could nail it. (Holy cow mdf is heavy!) I used 1.25" finishing nails. Then with a pencil I marked on the bottom on the header the 12" increments for the vertical boards.


3. MEASURE AND CUT VERTICALS
Line up each board to the marks on the header. Number each board on the back along with the length it needs to be cut to. Measure each board individually because the may need to be cut at different lengths. (I didn't want the vertical boards to hang over the existing base board, so I cut 45 degree angles leaving 0.25" blunt edge, so it didn't come to a point, at the bottom of each board. That sounds confusing so refer to the picture below).

When the bottom cuts are done, measure and mark each board according to their individual measurements and cut them to length.

4. GLUE & NAIL VERTICALS
Line up each vertical board to their place and make sure they'll fit. One at a time, glue the board with liquid nails, lining it up to the mark on the header and checking with a level. When it's good and level, nail it in place.


5. CAULK & PAINT
Fill in nail holes and joints with putty. Caulk around all the boards with paint-able caulk. Sand the putty places. Tape off the walls and paint. And then paint again...


TA-DA!

 
My decorations are still a work in progress.  As soon as my basement is finished the piano is moving downstairs and I hope to replace it with a cute chair and lamp.  Oh, and a hutch will replace my armoire...some day.  I search ksl classifieds weekly for "the one", to refinish just the way I want.

Freezer Paper T-Shirts


1. Find the design you want and put it on paper.
I googled to find the perfect images and then tweaked them a wee bit in photoshop, and printed them. For more complex designs you'll have to print a few copies for each layer of paint.

2. Cut out the design on freezer paper.
Lay down cardboard to protect your counter and then the freezer paper (glossy side down) on top of that, and then the paper with the design on top of that. Tape it all in place and cut out with an exact-o knife. Words and more intricate designs can make it tricky so try to keep your designs simple. The part you cut out is the part that will be painted. You're making a stencil.

3. Iron on the freezer paper to your shirt.
Iron your shirt first so there are no wrinkles. Make sure your iron isn't on the steam setting. You want a dry iron. Place the freezer paper, glossy side down, and iron it to the t-shirt.

4. Paint!
This is the fun part. Paint with fabric paints using a foam brush. Make sure you paint by blotting up and down, instead of moving your brush across sideways. This prevents bleeding under the stencil.

5. Let it dry.
If you're in a hurry or as impatient as I am, you can use a blow-dryer to speed up the process. Once it's dry remove the freezer paper. If you have more layers repeat steps 2-5 until you're all done!


Here are the kids in their St. Patty's get-up before school:

  And we mustn't forget the wee lasses!

Springy Pillows


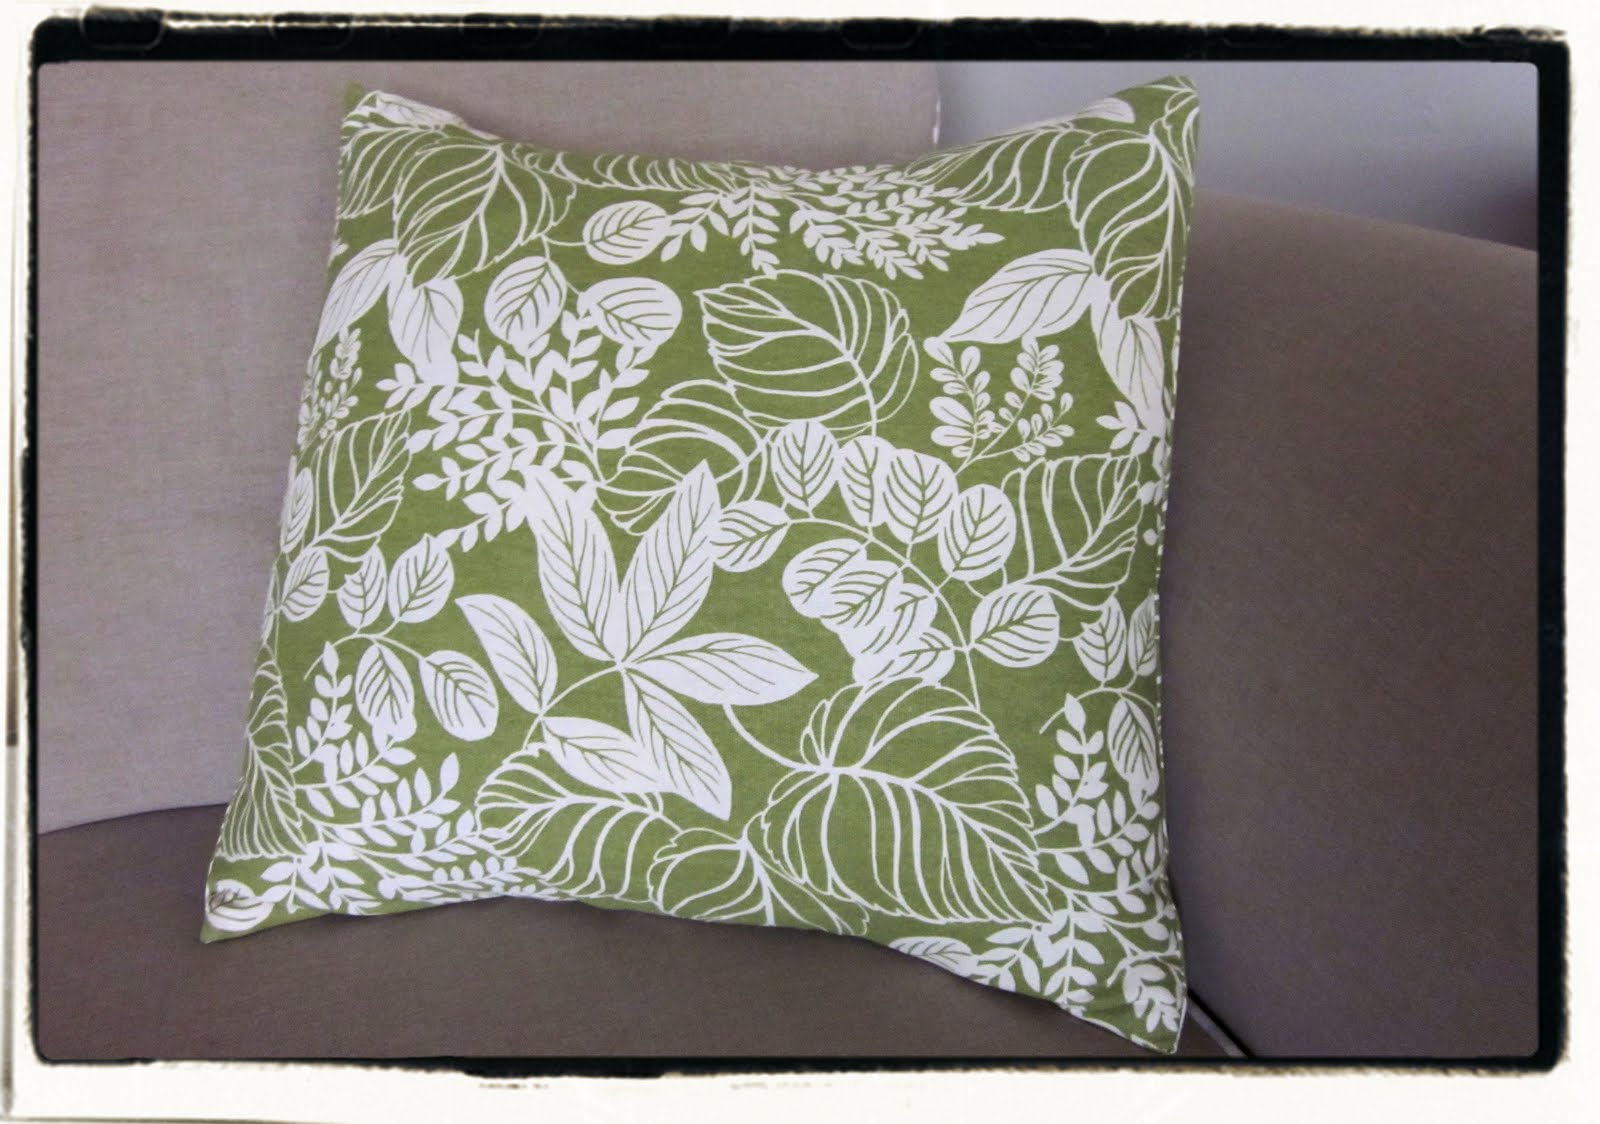
I have been on a search for green and springy-looking pillows, and kept coming up empty handed. So I was forced to break out the sewing machine and make some. I made four. I still think I need more color though.

Hmmmm...any ideas?

One-Eyed Monster Bundt Cake


I wanted to make a birthday cake for Sam using my new bundt pan. I stared at it trying to figure out what on earth I could make out of it that he would like. I came up with the one-eyed monster!


You can use any size bundt pan. The one I used is smaller than the norm.


Bake the cake following directions on the box or bake it from scratch...whatever floats your boat. Let it cool.

For the eyeball, scavenge for the perfect-sized ball. I found that golf balls were too small, and wiffle balls and tennis balls were too big. I was lucky to find a large bouncy ball that was a perfect fit.

Wrap the ball in press n' seal (love that stuff), and gather it all at one end, twisty-tie it, and cut off the excess with scissors. The twisty-tie side goes down.

Use a small cup to balance and steady the ball so you can paint it without it rolling around. I used a medicine cup. If you don't want paint to get on the cup, wrap it in press n' seal too.

Paint an eyeball on the press n' seal-covered ball with acrylic paints. (I bet permanent markers would work too!)

While the eyeball dries, decorate the cake with green frosting, using the star tip. You don't need to cover the entire cake, just enough to make it look hairy. Frost on an eyebrow and smile.

Make arms out of chenille stems.

Make teeth by cutting a large marshmallow with scissors.

Find some horns! I used Violet's banana cookies (you can find them in the baby aisle).

Plop the eyeball down in the center of the bundt, stick the arms into the side of the cake, stick the horns in, and place marshmallow teeth sticky-side down, and...

VOILA!
You have an One-eyed Monster Birthday Cake!

I was happy how it turned out considering it was a PIECE OF CAKE to create!

LinkWithin

Related Posts Plugin for WordPress, Blogger...